I have always liked the idea of rotating accessories and really quite enjoy it, but I really enjoy to do it seasonally. I like keeping a collage of art and photos over the sofa and I decided to do a little DIY art for Autumn.
For Summer:
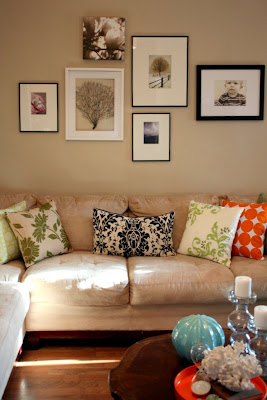
For Fall:

I took down the flower and beach pictures, but I left the coral fern and winter tree (the two largest pieces) because I think they still work. The coral fern could be a "spooky branch" for Halloween right? :)
Really though, I have always really liked how the coral fern mimics the winter tree in shape, and I'll just add in some color for fall.
Here is what you'll need for the pumpkin canvas:
Pumpkin image from your computer
14" stretcher bars
Orange fabric
Iron-on transfer paper
staple gun
First, assemble the stretcher bars. Stretcher bars are found in the art department of any craft store. They come in various sizes, from 8" up to 40" so you can make any size frame you want. They are a really soft pine and easy to staple into, plus, they are really inexpensive.
Assembled frame:

Next, print out the pumpkin image onto iron-on transfer paper, and set aside. Cut your fabric 2" bigger than the frame. Cut out the pumpkin image and iron onto the center of the fabric, I just eye balled it.
 After the image cools and the paper backing is pulled off,
center over the top of the frame, flip over and staple all the way around, pulling the fabric gently

After everything is secure, you have an art piece ready to hang!

 I made a companion piece as well, printed and ironed on another style of pumpkin onto a linen color fabric
 Stretched it also, this is an 8x8 size (isn't it cute?)
I hope you're inspired to try some iron-on tranfer art! It's not just for t-shirts anymore! Thanks for stopping by!


0 comments:
Post a Comment