Here's a list of things you need:
-Glitter (color of your choice)
-Scissors
-Plastic beads
-Stiffened Felt (Craft Store)
-Oval paper mache disk ornament (Craft store)
-Mod Podge
-Paint brush
-Paper trimmer
-Various embellishments
Other items that you'll need that I forgot to get in to the picture: exacto knife, sanding sponge and Martha Stewart Tinsel glitter (I just discovered this stuff!)

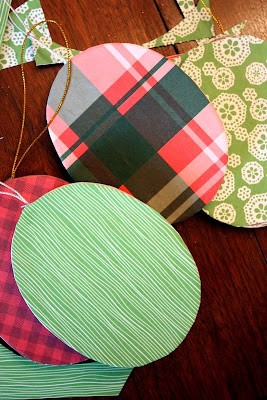
First step is to prep your paper selection. Use a paper trimmer to cut paper to size about 3" by 4". You can use the same on both sides or coordinating papers. I used coordinating papers. Apply glue to one side of the ornament and put it face down on the paper. Smooth it out with you fingers and then trim excess off with scissors. Don't worry about the edges, this is where the glitter goes.

The edges are rough from trimming, but use a sanding block (or fine grit sandpaper) to sand off the edges for a smooth look. Wait for the glue to be pretty close to dry before sanding.


During this project, I discovered Martha Stewart Tinsel glitter, it was really fun stuff. After the regular glitter had dried, I went back over with Mod Podge and just used the tinsel glitter as an accent. I did one of the ornaments with just the tinsel glitter and while pretty, I thought it was just too much.


These snowflakes are pre-cut too, I found then in my stash, they look great too.

Finally, I used plastic beads to fancy up the plain hanger. Just slip the beads on and then knot it so they don't slip back off. I found that between 3 and 4 beads were best, any more and it was too busy and started taking away from the look of the ornament.

This project could go so many different ways, and a great project for kids too!

Thanks for stopping by and I hope you are inspired and give this a try!


0 comments:
Post a Comment