Hi everyone!
I've got another project to share with you, I just love this one!

The 80 pound bag from your local home improvement store, can conjure up several projects. The kids and I have made the classic 'stepping stone in the cake pan' project a couple times, which is a lot of fun. However, I have been wanting to make some small concrete planters for a while now...I had seen a project on the Designer Guys show, where Chris demonstrated making planters using stainless steel mixing bowls for molds. It was a great project, and I went on the hunt for stainless mixing bowls. I soon discovered that they were a little out of my price range. Plastic seemed to be an affordable alternative. The ones I selected (from Walmart) were a set of four nesting mixing bowls for the low, low, price of 3.50...that's a little better.
Here is what I used:
Here is what I used:
Standard Quick Set Concrete from Lowe's (under 4.00)
Bucket (to mix concrete in)
Water
Paint Stick
Something Weighty to
hold mixing bowl down: bricks, rocks, etc...
Nesting mixing bowls
Non-stick Cooking Spray
Rocks and Pebbles
Teenage Son (Optional, Husbands work too)
Mix a bucket full of concrete using your Teenage Son (or Husband).
Mix a bucket full of concrete using your Teenage Son (or Husband).
Follow the directions on the bag of concrete, making sure the consistency is kinda like pancake batter.
Spray cooking spray on the inside of the largest bowl. Pour concrete into the bowl about mid-way. Using a smaller bowl in the nesting mixing bowl set, wiggle it into the wet concrete. Be sure to spray cooking oil on the outside of the smaller bowl. It will come up around the sides naturally. Weight it down, it will not stay if you don't. It will just push out. I found that even the weight of water worked too (the bowl on the bottom, pictured below)

Now is the time to decorate what will be the edge using rocks, pebbles, etc...anything you want. Living here in Missouri, red rocks are in abundance, so that's what I used, right out of my back yard!

Let it dry overnight. Gently remove the top bowl, turn the planter over and it will come right out, leaving you with this:


Now you are free to plant as you wish, I used more rocks in the bottom of the planter for drainage.
 I love the look of them!

I decided not to plant in all of them, and use some for hurricanes. I just so happened to have some glass vases that fit in the planters. I want to make a few more to line my entire pathway! How fun would this be for a party? I really love the looks of this! I added some sand to catch the wax, a candle, some moss and some shells! So I took a little of my NC life and a little of my MO life and joined them to create a great looking hurricane!
 Loverly!!
 Maybe a centerpiece on your patio table?
 Or maybe a couple on your steps?
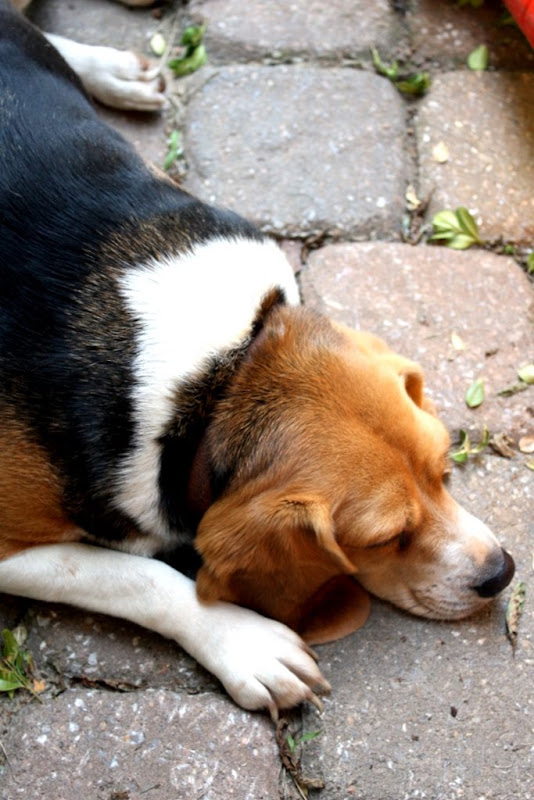
I couldn't resist adding a picture of Daisy, she patiently waited for me to get done with my project and photographs way after the kids had gone!!

Thanks for stopping by! I hope you are inspired! This is a fun and easy project! I hope you'll try!
Carmella's Garden Party @ Southern Fried Gal


0 comments:
Post a Comment