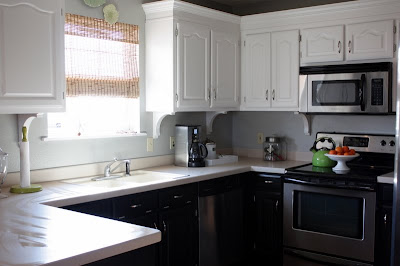
I have still been getting some questions on how we added height to the cabinets in the Kitchen Facelift, so I thought I would try to explain in more detail with an illustration too.
 This picture shows the existing cabinets that we started with. These were measured and 1x4 pine boards were cut to fit exactly (we did butt joints, not miter corners on the 1x4's).
 This picture shows the 1x4's cut and dry fitted.
Here, the crown molding has been attached to the 1x4's and ready to be attached to the cabinets.

I've done a rough illustration to help visualize the process. Scrap boards are attached lengthwise across the tops of the existing cabinets, the boards are what the 1x4's are nailed to. Justin used a small bead of liquid nails too.


The only after thought we had was to add trim to hide the seam between the cabinet and the 1x4's.

We used pre-primed crown molding, but it was really easy to prime everything and paint two coats of semi-gloss paint after everything was attached.
I used chaulk to make everything seamless, where the crown meets the 1x4 and where the trim is added.

Hopefully this will help any of the lingering questions, if not, let me know. Thanks for stopping by.


0 comments:
Post a Comment