

The art of Paper folding and cutting is certainly not new, I suppose that paper crafting is a real love of mine, and I want to show you how easy it is to create beautiful dogwood blossoms out of something so simple: paper.
Here are the things you'll need:
White card stock
Paper cutter
scissors
hole punch (standard)
bone folder
Distress Inks, I used:
(Old Paper, from Ranger { Hi Tim! } & Sepia, from Archival Ink)
Rubber stamp
I used a snowflake design, because that is what I had on hand,
really anything that will give you a dappled look
Pencil (with an unused eraser)
I made 3 different sizes, 2''-4'', getting the most out of a 12X12 piece of white card stock.
Tree branch (optional)
Glue gun (only if using branch)

~Fold your squares into quarters, using the bone folder to get nice and crisp folds.
~Open the square back up, and fold corner to corner, just using your hand to crease, this gives a softer look to the petals
~Fold the paper back into a square, hold the square on the diagonal, cut the "corners" off, creating a teardrop shape

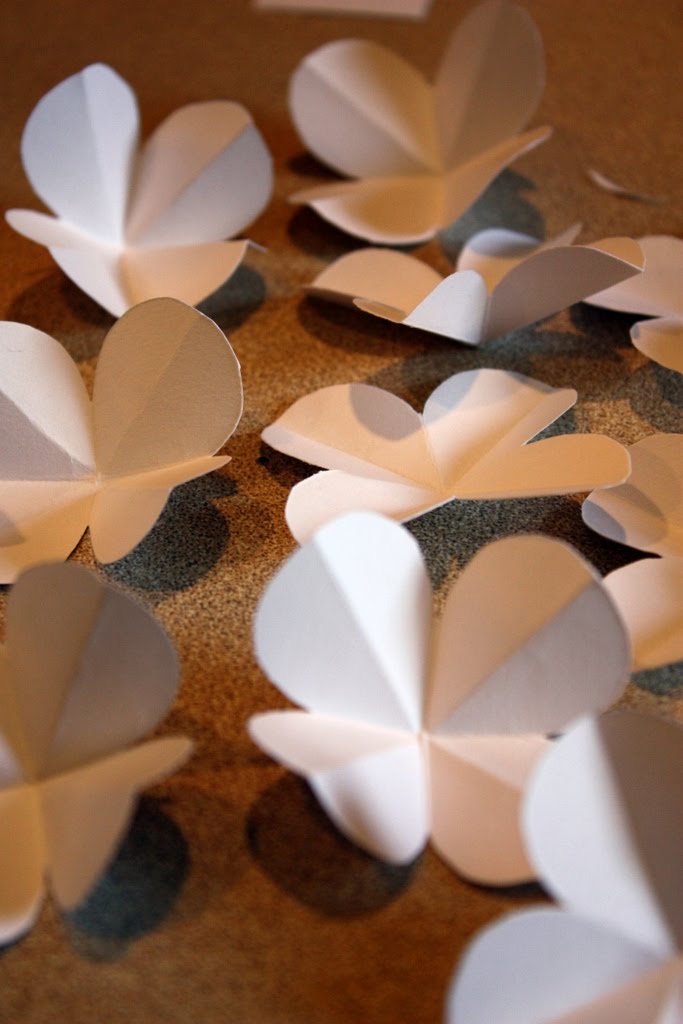
~Open your paper to reveal your almost dogwood!
 And then make a whole bunch
...and a whole bunch more....
 When you've finally cut out as many as you want, it's time to make it look real!
Like I said, I used a snowflake stamp and just kept stamping and stamping until it looked random enough, using 'Old Paper'
 Then using a standard office hole punch, clip all four petals and then ink (with sepia) it with the unused eraser

Using the tree branch, I hot glued the little dogwood blossoms on randomly. I knew I was doing this for a mantle display, so I concentrated on the "front" side of the branch. If I was doing this as a center piece, I would glue them facing all directions.


 I will be honest, I liked the smaller 2 and 3 inch size better, the 4'' was just a wee bit too big....but he's still purdy! :)
I glued some onto the branch but, I really liked just laying them around too!

I just loved how it turned out!! I gotta tell you, it was addicting!! Cut and fold and crease and cut and fold and crease and...........
 I hope you're inspired!! Come by again soon, I hope to be ready for the mantle reveal and more on Logan's room next week!!
Have a blessed Easter! He Lives!


0 comments:
Post a Comment